在企业级部署 MCP 服务器时,授权与安全是不可回避的关键挑战。OAuth2 框架正是应对这一需求的理想解决方案,能够将权限控制变得清晰且可控。
核心关注点包括以下三个方面:
- MCP 服务器在企业级场景下为何需要身份认证机制
- OAuth2 与 MCP 服务器的集成方式
- 基于 Spring Security 和 Spring Authorization Server 的具体实现方案
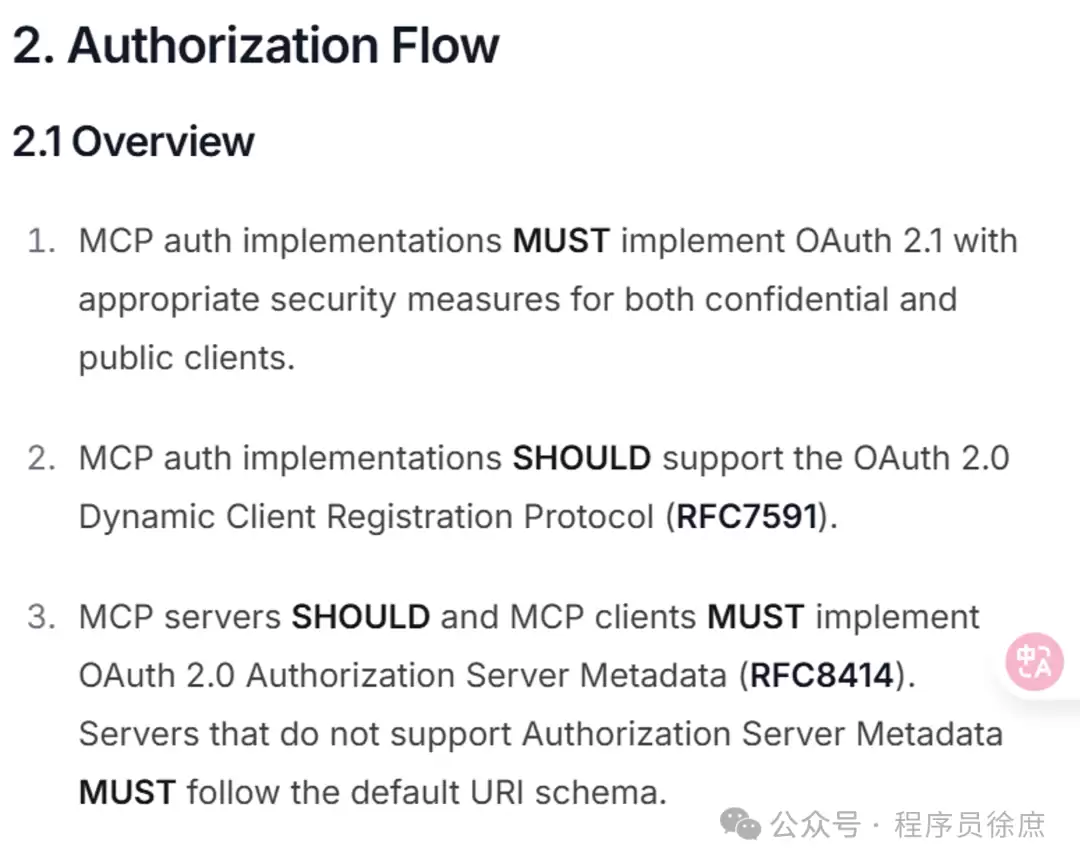
在本地环境中运行 MCP 服务器时,使用 STDIO 传输方式已足够。但如果需要让外部客户端访问,就必须暴露标准的 HTTP 接口。私有环境可能对认证要求较低,但在企业级部署中,接口的安全和权限把控是刚性需求。2025 年 3 月发布的最新 MCP 规范,正是借助 OAuth2 框架作为基础,从根本上解决了这些安全隐患。
先简要回顾一下 OAuth2 的角色分配。在规范草案中,MCP 服务器同时承担资源服务器和授权服务器两个角色:
- 作为资源服务器,MCP 负责校验每个 HTTP 请求中的
Authorization请求头,该头部必须携带 OAuth2 的access_token(令牌),作为客户端的访问凭证。令牌通常采用 JWT 格式,但也可能是随机字符串。如果令牌缺失、无效(例如过期、并非颁发给本服务器),请求会被直接拒绝。正常请求示例如下:
curl https://mcp.example.com/sse -H "Authorization: Bearer <有效的 access token>"- 作为授权服务器,MCP 还需能够安全签发
access_token。在颁发令牌前,服务器会验证客户端凭据,必要时还需校验访问者身份。授权服务器会指定令牌的有效期、权限范围、目标受众等参数。
好消息是,借助 Spring Security 和 Spring Authorization Server,我们可以便捷地为现有的 Spring MCP 服务器同时实现上述两种能力。
为 Spring MCP 服务器添加 OAuth2 支持
下面以官方示例仓库中的“天气”MCP 工具为例,演示 OAuth2 集成过程,重点实现服务器端的令牌签发与校验(客户端部分暂时不展开)。
首先,在 pom.xml 中添加必要的依赖:
  org.springframework.boot
  spring-boot-starter-oauth2-resource-server


  org.springframework.boot
  spring-boot-starter-oauth2-authorization-server
然后在 application.properties 中配置一个简单的 OAuth2 客户端,方便后续请求令牌:
spring.security.oauth2.authorizationserver.client.oidc-client.registration.client-id=mcp-client
spring.security.oauth2.authorizationserver.client.oidc-client.registration.client-secret={noop}secret
spring.security.oauth2.authorizationserver.client.oidc-client.registration.client-authentication-methods=client_secret_basic
spring.security.oauth2.authorizationserver.client.oidc-client.registration.authorization-grant-types=client_credentials
配置完成后,可通过 POST 请求直接与授权服务器交互,无需浏览器,直接使用配置的 secret 作为凭据即可。最后,需要启用授权服务器和资源服务器功能。通常做法是新增一个安全配置类,例如 SecurityConfiguration:
import static org.springframework.security.oauth2.server.authorization.config.annotation.web.configurers.OAuth2AuthorizationServerConfigurer.authorizationServer;

@Configuration
@EnableWebSecurity
class SecurityConfiguration {

    @Bean
    SecurityFilterChain securityFilterChain(HttpSecurity http) throws Exception {
        return http
            .authorizeHttpRequests(auth -> auth.anyRequest().authenticated())
            .with(authorizationServer(), Customizer.withDefaults())
            .oauth2ResourceServer(resource -> resource.jwt(Customizer.withDefaults()))
            .csrf(CsrfConfigurer::disable)
            .cors(Customizer.withDefaults())
            .build();
    }
}
该安全过滤链执行以下关键任务:
- 强制所有请求通过身份认证——访问 MCP 接口时必须携带
access_token。 - 同时激活授权服务器与资源服务器两种角色。
- 禁用 CSRF 防御,因为 MCP 并非面向浏览器场景。
- 启用 CORS,方便使用 MCP Inspector 进行测试。
配置完成后,未携带令牌的请求将被直接拒绝,返回 401 未授权状态码:
curl http://localhost:8080/sse --fail-with-body
# 返回:
# curl: (22) The requested URL returned error: 401
要正常使用 MCP 服务器,需先获取一个 access_token。采用 client_credentials 授权流程(适用于机器到机器、服务账号场景):
curl -XPOST http://localhost:8080/oauth2/token --data grant_type=client_credentials --user mcp-client:secret
# 返回:
# {"access_token":"","token_type":"Bearer","expires_in":299}
获取到 access_token(通常以“ey”开头)后,即可携带该令牌正常请求服务器:
curl http://localhost:8080/sse -H "Authorization: Bearer YOUR_ACCESS_TOKEN"
# 服务器响应内容
此外,你还可以在 MCP Inspector 工具中直接粘贴此令牌——通过菜单 Authentication > Bearer 输入令牌,然后进行连接即可。